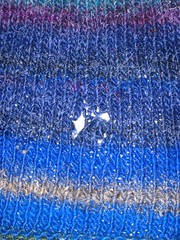
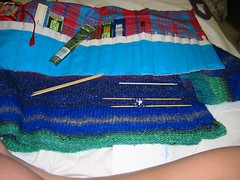
Brace yourself for the horror. Braced? Okay, here's the wound:
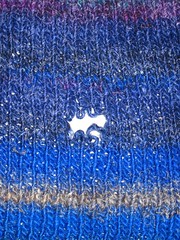
The first step in repairing damage like this is to clean the wound:
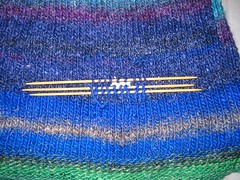
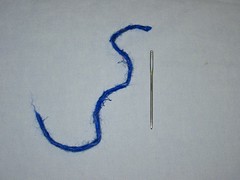
Here's the damaged tissue I removed, with a yarn needle for scale:
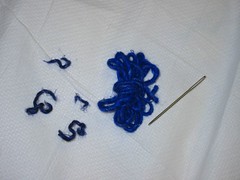
This photo also shows the only remaining Noro Silk Garden I have of this colourway. Luckily it happens to be fairly close in colour to the damaged tissue, although it's definitely from a different part of the striping sequence.
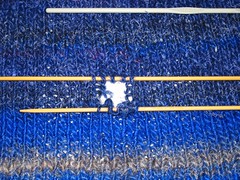
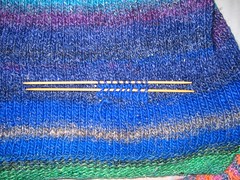
The next step is to stabilize the patient:
At this point you can take a break. In fact, I recommend taking a break in order to steady yourself. You don't want to repair in haste. Consider all your options, your available supplies, and so forth. You may even want to read a book, or smell the flowers.
When you are ready, return to the operating table. Here's my set-up:
I picked up some additional stitches in order to have overlap on the sides (but not too many, given how little yarn I had left), then started grafting back the missing tissue:

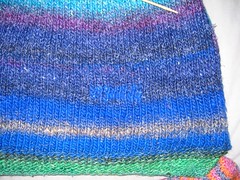
Finished! And definitely none too soon:
6 comments:
I wish I could be so handy at fixing things. You have a real knack for repairs.
Nice Job on the repair. I am relieved for you.
Great tutorial! Whew!
Thanks! I'm relieved too. :)
The step-by-step repair was awesome. I would have been so wiped out!
Excellent repair!
Post a Comment