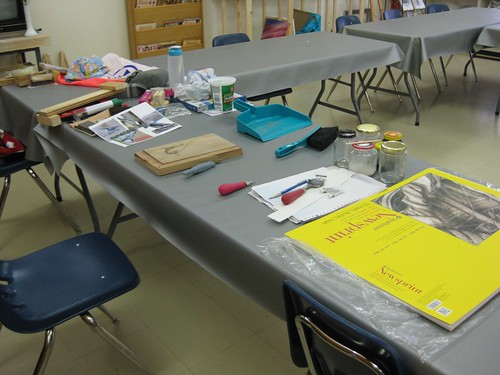
I arrived at the art club around 11:30, looked at mats (for something else) for a few minutes, then worked on my block printing until leaving at 7:50! Ouch! Except for a few people saying hi, I was all alone. However, that meant I could spread out as much as I wanted:
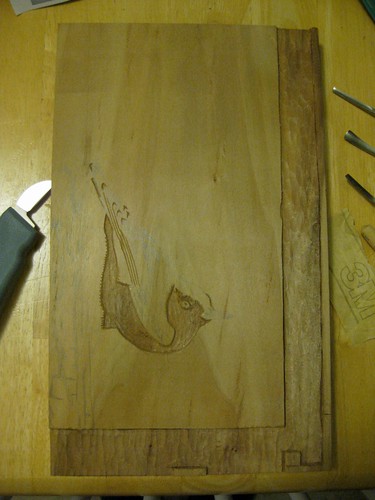
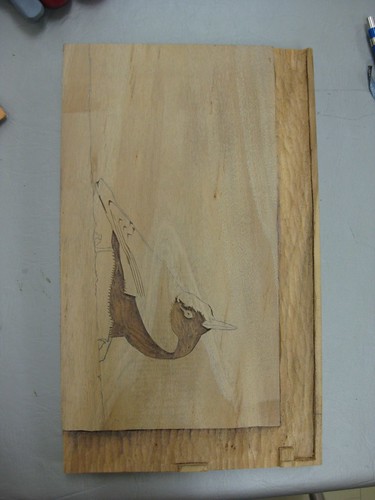
When I posted about the wood block printing progress last, my block looked like this:
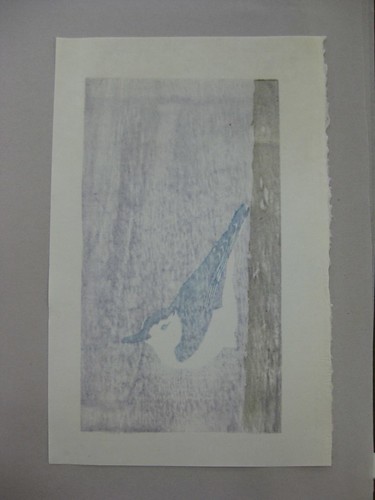
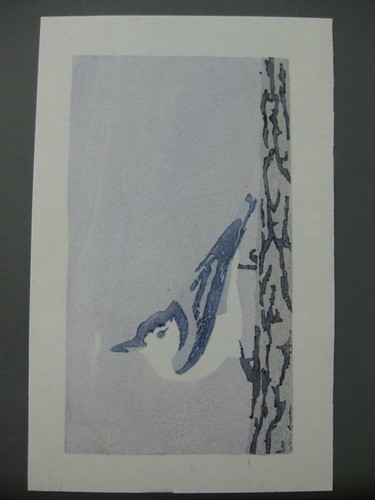
That block produced an image that looked like this on the artist proof:
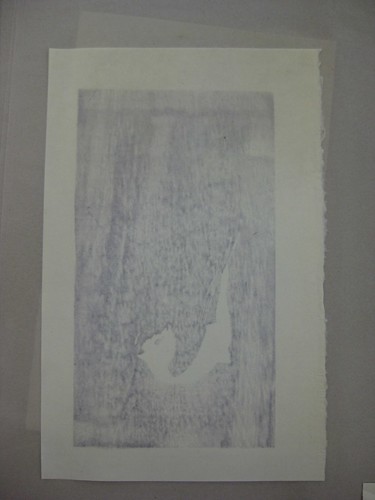
(It turns out the paper I used for the artist proof behaved a bit differently than the other paper I had. More on this later.) This first colour was printed Thursday, but I didn't photograph it until Friday.
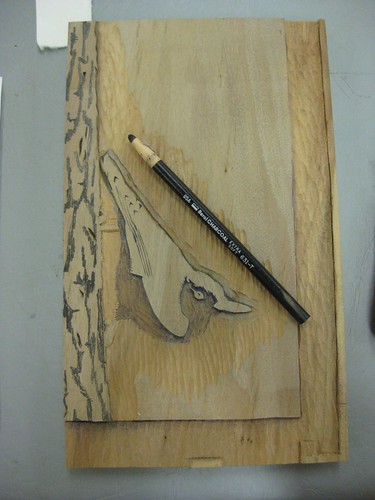
It's hard to see with the flash, but, in that first photo of the wood block, there are a bunch of pencil lines marking all the detail for the bird at all of its stages. However, it turns out that pencil washes off wood. After printing the first colour Thursday night, my block was washed clean:
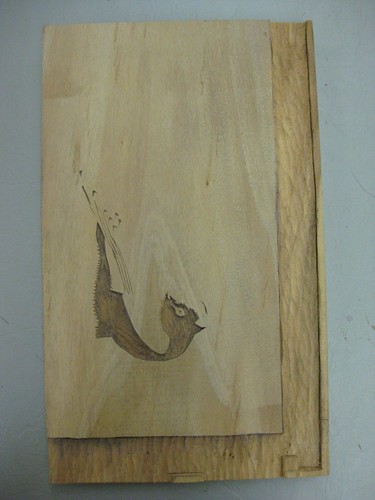
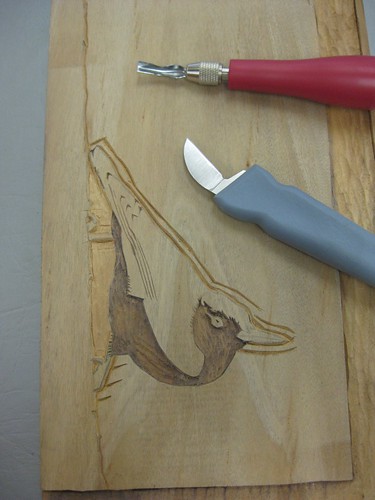
Friday morning, I got to draw the detail back on:
I didn't put as much detail on, since I knew it was just going to wash off again. I put on enough for this stage of the carving, and to make sure later details would fit.
Then I used my knife to make a V groove beside the lines that marked a boundary between what was going to be printed next, and what had been printed previously:

I was worried about over-shooting with my gouge (since I was using a cheap lino-cutting tool on Friday, rather than my friend's nice, expensive, "cuts like a knife through butter" gouges), so I put a second V groove line in, to act as a bumper:
Then I got to work with my gouge:
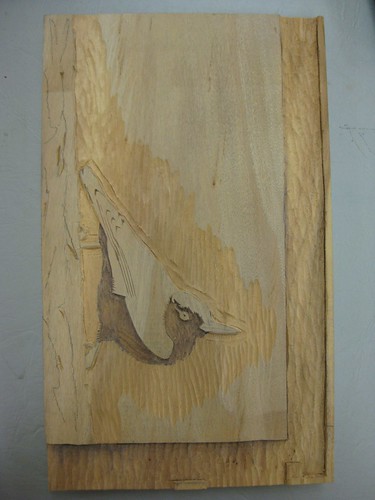
Because the areas that would be different colours were separated, I could do two at once with this block:
Next step, drawing the bark:
(Note to self: Bark takes a *long* time to carve!!!)
Here's the bark and next level of detail on the bird:

(This was obviously taken *after* I started printing the next two colours.)
The final product that the block produced:
(It's a nuthatch.)
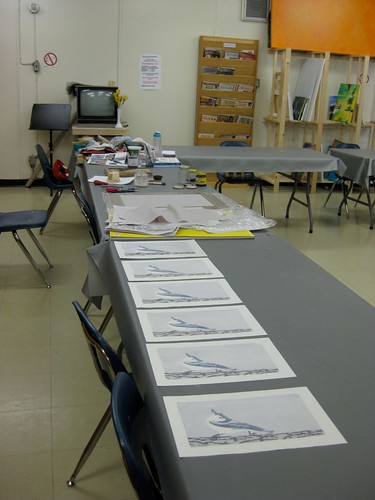
I printed an artist's proof, plus five prints, for a total of six:
Here's a comparison of how the two different papers behaved:
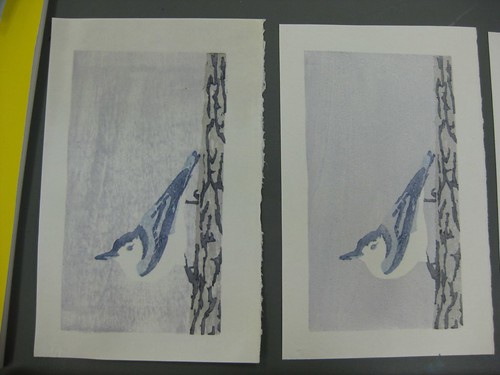
We're getting together with the instructor again on Thursday, to show her our finished prints. I'll have to ask her why she thinks the AP paper behaved so differently. (It was some older paper that had started to yellow, but it should have been the same stuff.) Weird.
I need to decide which print I'm going to keep for myself, and which I'm going to put for sale in the next art show. (I think the wood block looks rather neat itself, and so am thinking of hanging it in the show too... both to illustrate how the print was made, and in case anyone wants to buy it!) I've narrowed it down to either the AP, or print 5/5.
It was a *long* day, but I'm glad I got my prints done!
PS: It's still healing, but my finger is feeling much better now.
6 comments:
That looks really beautiful, Andrea! Did you draw the picture from memory? And what a lovely print from it.
Thanks! I had a few reference photos that I was drawing from.
Now *that* is a craft requiring patience! I just love the prints. Glad your finger is healing.
Thanks! :)
Beautiful work! I love nuthatches. :-)
Thanks! :D (Want to buy one? ;) )
Post a Comment