I finally got around to gluing the upper wheel on my Windwheel spinning wheel. I meant to do this repair outside on a nice sunny day, but somehow that never happened this summer. So, kitchen it is. For those who are interested, I took photos of the steps (except the actual gluing... I needed to focus then, to get the glue *only* where I wanted it):


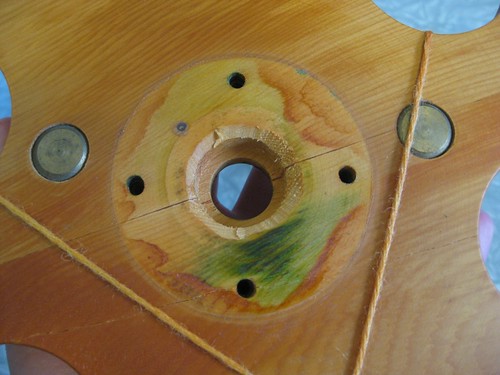
Here you can see the crack better:
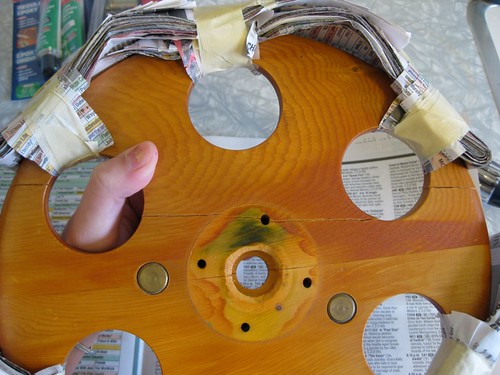
It turns out it wasn't *completely* separated... there were strands joining the two parts. This made gluing more challenging.
These clamps were to go through the holes:
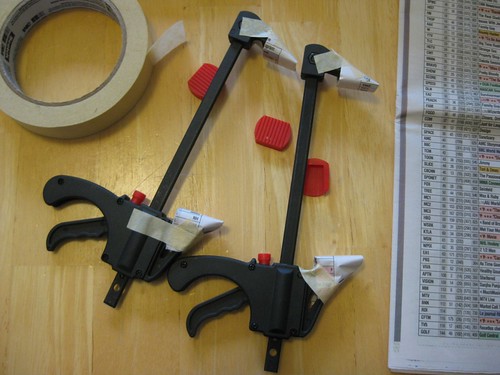
It turns out it's difficult to get clamps that are small enough to fit in the holes, while being long enough to span the holes. This pair *just* fit the bill once I removed the pads... but then there were no pads. So I added a few layers of newspaper to minimize marking.
Dry run:
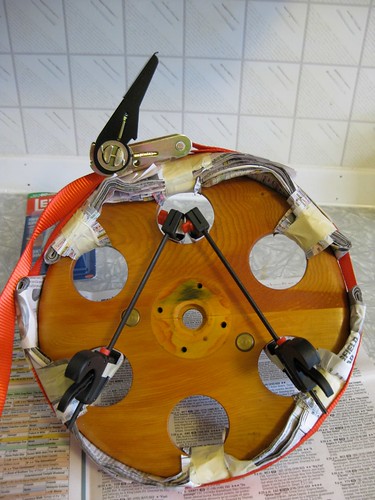
The newspaper around the wheel is for two reasons: protect the wood from the ratchet, and to keep the strap from being permanently glued to the wheel. ;)
Glued & clamped:

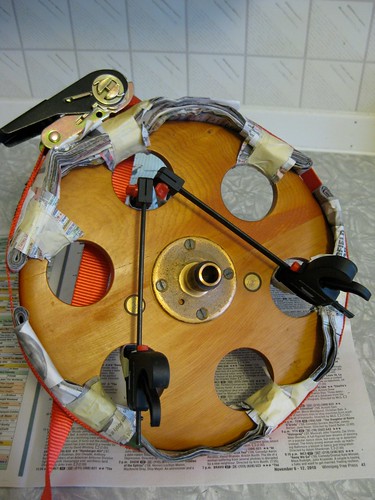
Now we wait...
3 comments:
That looks like an intense operation! I hope that it works :)
That's probably why I kept putting it off. ;) I hope it works too!
YOur repair looks very promising. All that prep work will be well worth it when the wheel is mended.
Post a Comment