First up, kitchen. Before:

Okay, this one actually did have a light switch plate to begin with, but I forgot to take a photo when it was on, and was too lazy to put it back on for the sake of a blog photo. However, I wanted to switch from "almond" to white, and so had to buy a new light switch plate anyway. (Finding the filler for the middle was a challenge for some reason... both the lady in the orange apron and I did quite a bit of searching before we managed to locate it... and it was ridiculously expensive compared to the other parts!)
Circuit breaker panel and subpanel:
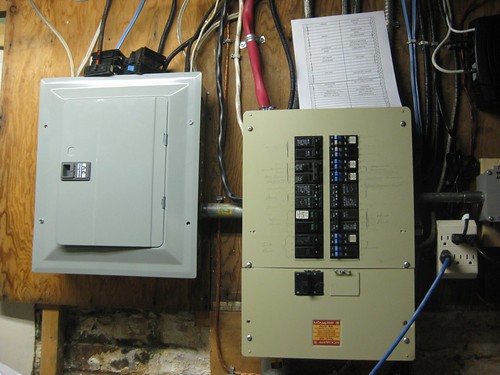
Look at all that labelling! This shouldn't be too hard... uh... why does none of them say "kitchen light"? Flip, run, flip, flip, run, flip, flip, run... you get the picture. Final discovery: it's on the subpanel, on the same breaker as the basement lights. Given the state of the basement (goat trails between junk, and virtually no natural light), this was not an optimal situation. (Note, I actually made this discovery yesterday, and picked up a flashlight (can't find any of mine) when I was shopping last night.)
In progress:
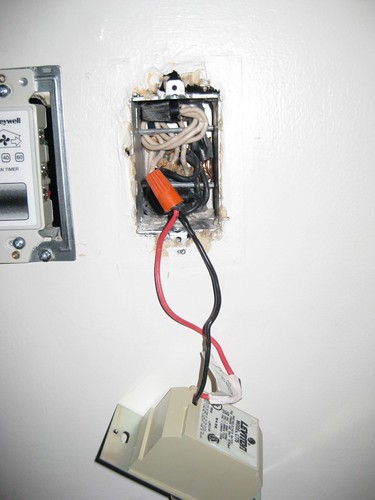
(WTF are all the wires back there for?)
Finished:
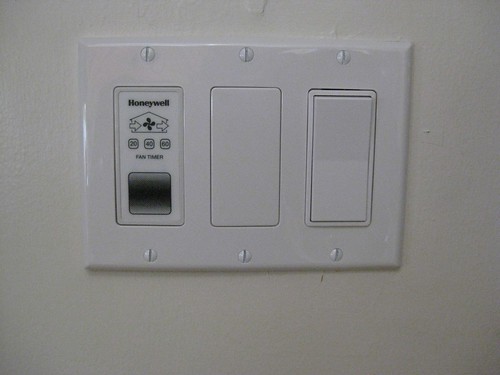
Ahhhh! A light that stays on when I want it on, and goes off when I want it off!
Next up, front hall. (Also not marked on the panels... it's one of the breakers on the right hand side of the sub panel, but I'm not sure which... I just threw the whole side each time, to save myself a few trips up and down the stairs.)
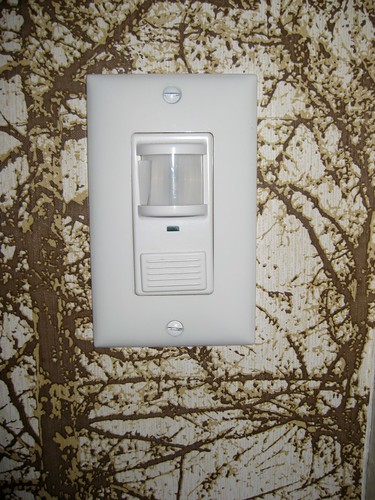
In progress, main floor:
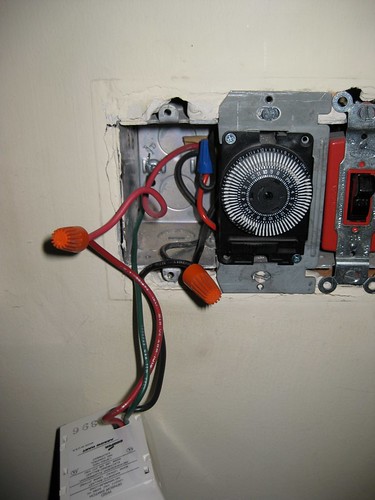
Oooo! Colour coded wires!
Uh... not so fast... turns out the colours weren't so helpful. After two unsuccessful attempts at wiring this pair of switches (more stairs and flipping of breakers), I googled the internet for some diagnostic tips.
I found this excellent set of instructions by John Nelson (thank you, John Nelson!!!):
If you'd rather troubleshoot than experiment, then get out your voltmeter or circuit tester.Worked like a charm!
- Shut off the breaker.
- Remove both switches and separate all three wires in both boxes.
- Turn the breaker back on.
- Conduct six tests for voltage, one between each of the six wires and the known ground. Hopefully, exactly one will test hot. This is the "common" wire for that switch. The other two wires are the travellers.
- Shut off the breaker again.
- Now add the switch to the box that had the hot wire, connecting the hot wire to the common (usually colored black) screw on the three way switch. Connect the two travellers to the other two brass screws.
- Turn on the breaker again.
- Now go to the other box and test all three wires for hot. Hopefully again only one will be hot. This wire is one of the two travellers.
- Go to the first switch and flip it to the other position.
- Go back to the box and test the remaining two wires. Again, one will be hot. This is the other traveller. The remaining wire that did not test hot with either position of the switch is the common.
- Shut off the breaker.
- Connect up the other switch, connecting the common that you found to the common terminal on the switch, and connecting the two travellers to the two brass screws.
I decided to mark the wires for future reference. Since I didn't have any colour-coded electrical tape, I used nail polish. The hot wire is downstairs, and I coloured it with Mabelline Colorama "plum sparkle" (not a colour I like on me, but a colour that came closest to "hot" that I had.) Upstairs, the two carrier wires are now colour-coded with Revlon "copper penny" (also a colour I decided I didn't like), and then, after I determined the two carrier wires, I dabbed some more "plum sparkle" on the common wire. (Hopefully having nail polish on the wires isn't a big no-no.) Colour coded wires on the second floor:
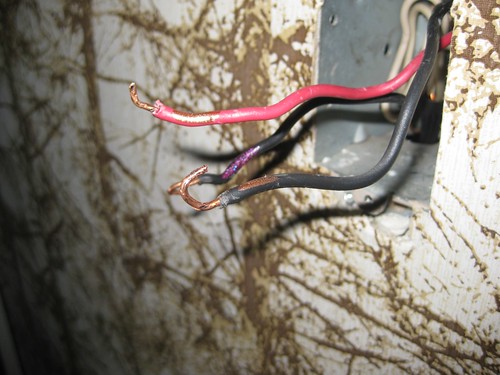
After, second floor:
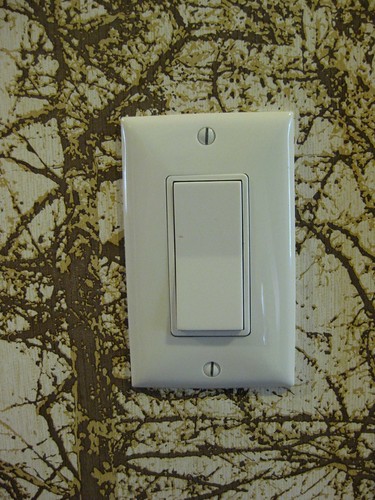
After, main floor:
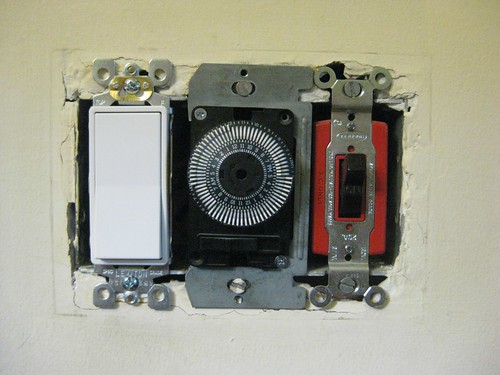
(I need to figure out how to get a light switch plate that will fit this combination of switches... that thing in the centre is bigger than the standard "decora" hole.
4 comments:
In that last photo, the thingummy looks like one of my father's slide carousels... And yes, that was all I had to say!
It does, doesn't it? It's a timer for the plug in the front porch where we plug our Christmas lights in, so that they go on and off automatically.
So I take it you haven't found any knob and tube? Seems to happen quite a bit on those shows on HGTV that are brought down from Canada. ;)
Dad says there's one spot he hasn't removed, but the rest is gone. Mom suggested I have my uncle double-check that.
Post a Comment